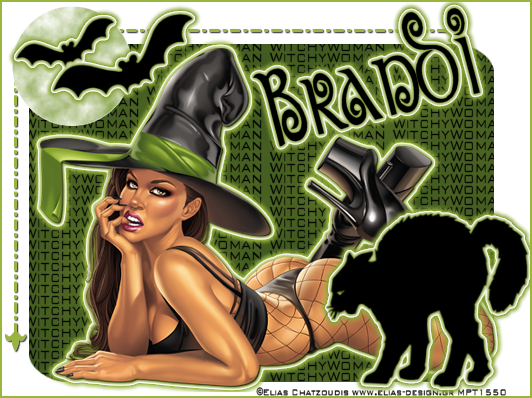
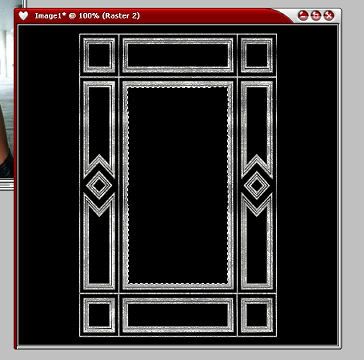
Noisy Frame
©BamaVamp 
Supplies needed:
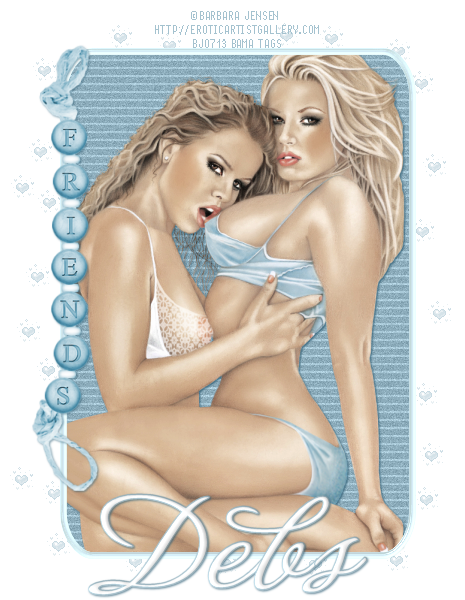
frame (included)
snowflake (included)
picture included (or any image of your choice)
and Brush Script MT font (comes with Windows).
Zip file is here.
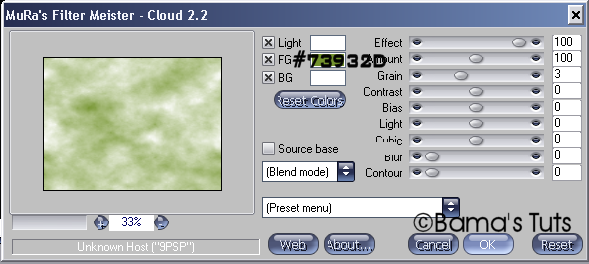
Plugins DSB Flux Bright Noise, found here, install to your plugins folder.
This tutorial was created with PSP 9, but can be done with any version. ~~~~~~~~~~~~~~~~~~~~~~~~~~~~~~~~~~~~~~~~~~~~~~~
Open your picture and frame in PSP.
Create a new image 500x500 with a black background.
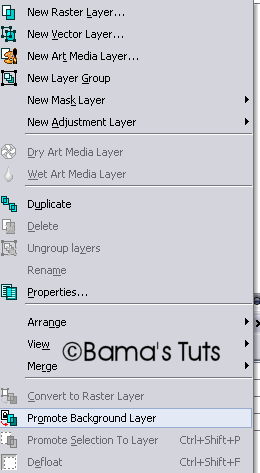
Copy and paste the silver frame into the black canvas..Image resize Bicubic, 80%, rename this layer Frame.
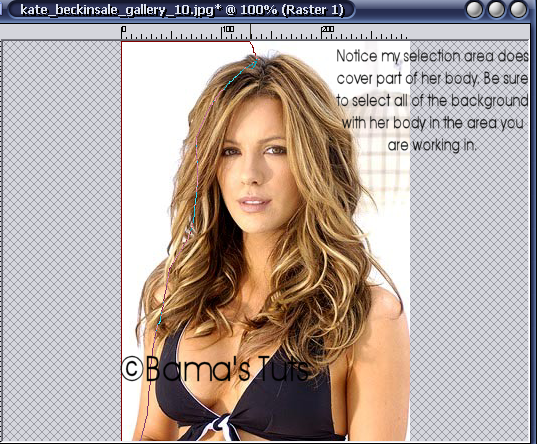
While on the frame layer, grab your magic wand with your tolerance set at 20, feather 0, and anti-alias checked...click inside the silver frame so that you have marching ants inside the black rectangle.
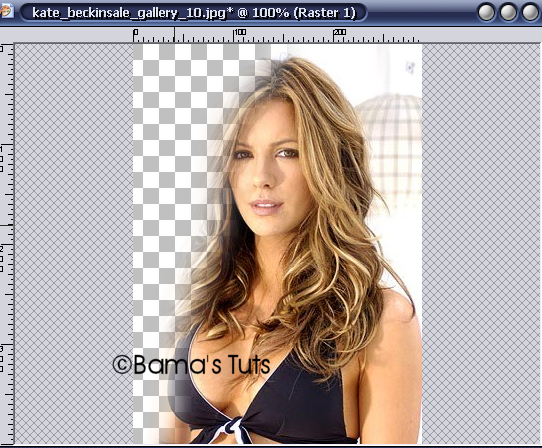
While selected go to layers..new raster layer. While on the new blank layer, click on your picture, copy and paste your picture into the frame by going to edit, copy, paste into selection. De-select. You may want to crop your image slightly before pasting it, so that it fits better into the frame.
Click on your frame layer so that its highlighted. Now with your magic wand on the same settings....tolerance at 20, feather at 0 and Mode on Add(shift) click inside every black part inside the frame, except for where your image sits.
Keeping all of that selected and making sure you are on the frame layer, go to Selections Invert..the marching ants will look the same but the selection is now around every part of the silver frame.
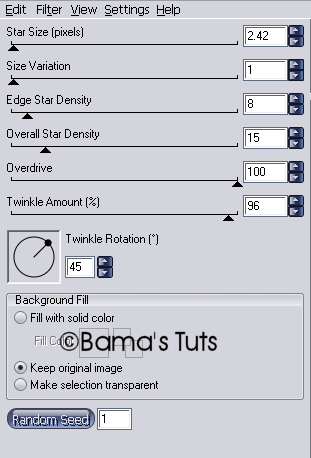
Duplicate this frame layer twice, so that you have 3 layers of the frame. X out your top 2 frame layers and while on the original frame layer go to Effects..Plugins... DSB Flux..Bright Noise. You can use any settings you choose, but I am using Mix with a setting of 30, click okay.
Un-X the copy of frame layer go repeat the plugin with the same settings but click on Mix twice before clicking okay. Un-X the copy(2) of frame layer and repeat plugin, but click on Mix 3 times.
Go to Selections..Select None.
At this point hide the frame layers, with only the picture layer and the background layer visible, right click on the background layer and merge visible.
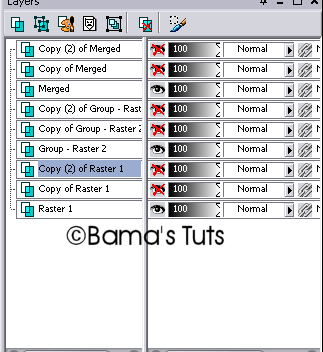
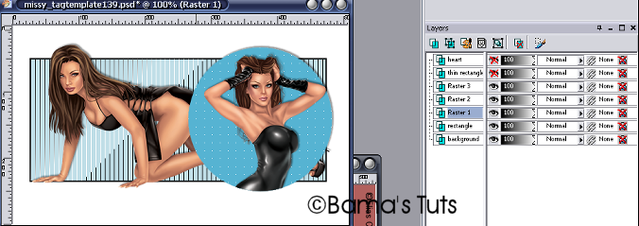
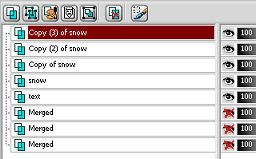
Duplicate your merged layer (the image and background) 3 times so that you have 3 layers total. So your pallette looks like this:
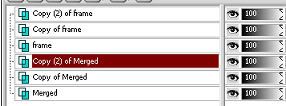
Hide the copies of both layers, so that only the Merged layer and Frame layer are showing. Right click on one of these layers and go to merge visible. Hide this layer. Unhide the copy of your frame and merged layer, right click on the merged layer and merge visible. Hide this layer.
You should now have 2 layers visible the copy(2) of merged and copy(2) of frame..click on the merged layer and merge visible.
Unhide your top Merged layer...if you would like to add the snowflakes, copy and paste it as a new layer, I resized mine 30% bicubic and renamed it snow. Put the snowflake in the top left empty black box...duplicate this layer, then go to image..mirror. Duplicate that layer and go to image..flip. Duplicate this layer and go to edit..mirror. Your snowflakes should now be in each corner of your frame.
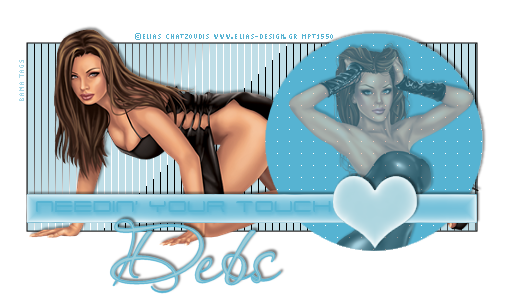
Add the text of your choice. If using the image I proved please give proper recognition to stock exchange. I used Brush Script MT, foreground color of white, background color of #808080, stroke width of 1.0. Convert this to raster layer when you are finished and rename text.
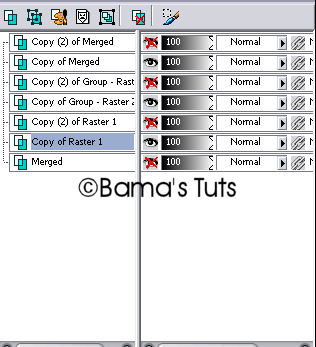
Hide your 3 merged layers, leaving only the text layer and your snow layers open (see below), right click on the top visible layer and go to Merge visible, rename this snow.
Duplicate this layer twice so that you have 3 layers of snow. Hide the copies of snow and the top 2 merged layers, leaving open the layer Snow and the bottom merged layer..right click on the merged layer and merge visible. Hide this layer and unhide the 2nd merged layer and the copy (2)of snow, while on the merged layer, right click and merge visible, hide the layer. With only your top merged layer and copy(3) of snow visible, right click on the merged layer and merge visible. You now again have 3 layers.
Unhide all layers.
You have 2 options of animating:
My preferred method (its quicker) ..save the image as a .psp file on your desktop. Open Animation shop, go to file open and find the saved picture. Crop your image in animation shop as needed to get rid of the excess background. I resized my tag by going to Animation..resize animation by 80% percent of original, bicubic.
Click on view animation and save your tag as .gif.
Option 2 animation. With all layers visible in PSP, open Animation shop click on the bottom Merged Layer and go to Edit Copy..go to Animation shop and click on Edit..Paste as new Animation. Back to psp, highlight your 2nd merged layer Edit, Copy, click on your frame in animation shop and go to edit..paste after current frame. Repeat the last step with the merged layer in psp. Crop excess background and resize if you choose. Save as .gif.
This tutorial is ©BamaVamp and was written on 1/18/06.
If you have any questions please feel free to holler at me.
DO NOT copy nor translate this tutorial.
Contact me for usage information.
Any likeness to any other tutorial is coincidental.