
Simple Misting Tutorial
©BamaVamp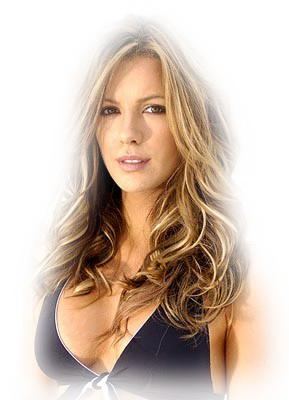
Supplies Needed:
Image is here.
A misted image is an image that has no definite corners. When placed on a background it appears to just disappear into the background.
I am providing an image of Kate Beckinsale. Normally I'd tell ya to use your own image, but since misting is not an exact science and all images will mist differently, I suggest you use my provided image for your first try.
~~~~~~~~~~~~~~~~~~~~~~~~~~~~~~~~~~~~~~~
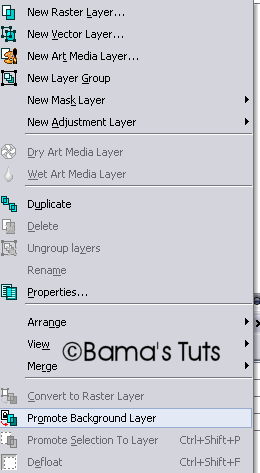
When we open our image in PSP, we see that she has a white background behind her body. We wanna get rid of that, but first we need to right click on our image in our layer pallete and "promote background layer".
Now let's start misting. We need to pick our selection tool and use the settings below:

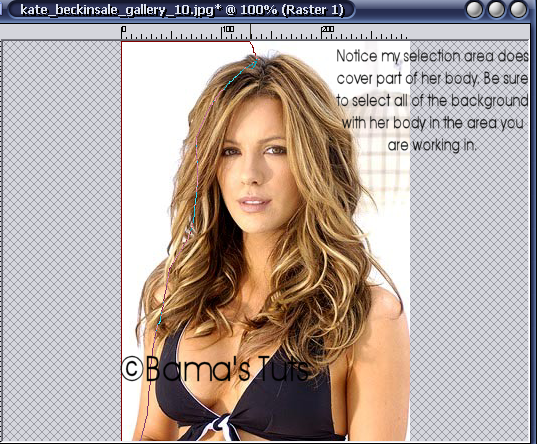
Now, we wanna trace the left outer part of her body and the background so that they are selected. You wanna be sure that you are outlining on top of the actual person in the image so that the whole background gets removed. Notice how in my shot below the selection covers her arm and head as well as the background.
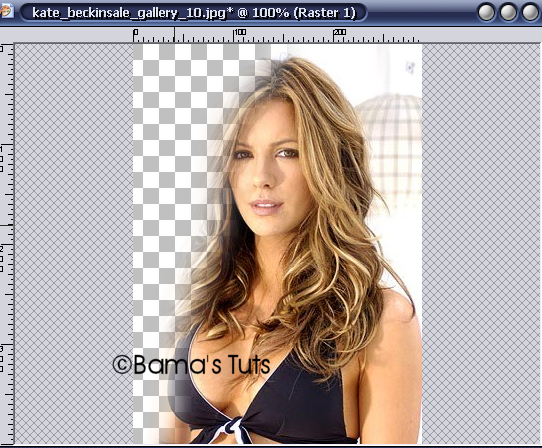
Now we wanna get rid of this selection. Since we have feathered it, the selection expanded when its complete. It looks like its gonna take away her body, but it will do it just enough for what we want.
Click on the delete button on your keyboard 3 times. Then deselect.
We need to do the same selection process to the bottom of the image, but we will not need to make our selection as large in size as there is no background, just Kate. By feathering the bottom, this eliminates the sqaured edges of the bottom of her bodyshot. This is what we have left, a misted tube:
Don't forget to save your image like this in psp pr png format if you plan on using it as a tube in the future.
You can always set your freehand selection tool to feather a larger or smaller amount. How many times you hit the delete button determines how much of the background you remove. Images with darker and more detailed backgrounds, you may have to hit delete more, you may have to adjust the outline on the body, or you may have to adjust the feather to be less.
Here is other images I have misted using my technique.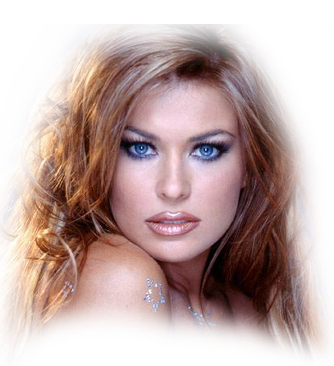

This tutorial ©BamaVamp written on 4/17/07.
If you have any questions, just holler at me.
DO NOT copy nor translate this tutorial.
Contact me for usage information.
Any likeness to any other tutorial is coincidental.


No comments:
Post a Comment