
©BamaVamp
This tutorial was written using PSP 9, but should work with any version of PSP.
Supplies needed:
Xenofex 2 Stain
Penta Dot
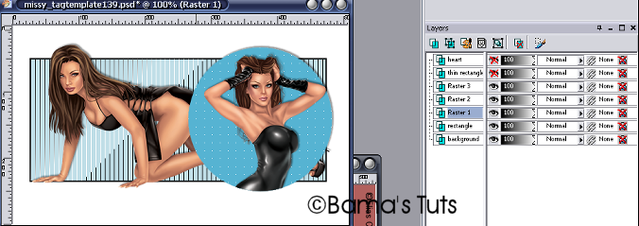
Template #139 by Missy, you can find it here
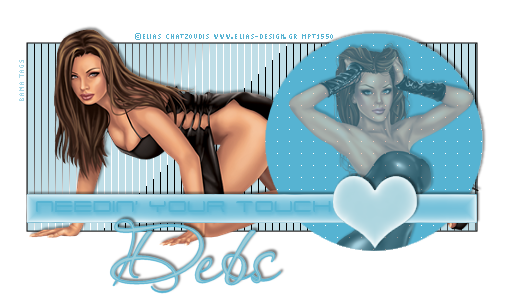
Needin Your Touch brush (download HERE.)
Tube of your choice. I am using the licensed artwork of Elias Chatzoudis. You may purchase his work at mypsptubes.com
~~~~~~~~~~~~~~~~~~~~~~~~~~~~~~~~~~~
Open your template, brush and tubes of choice in PSP. You will need to export the brush to your brushes by going to File...Export..Custom Brush and give it a name you can remember easily. You can close the brush when this step is complete.
Now on the template, you will see there is a layer for every element. We want to delete the layer called word art and the top layer that says by Missy. Now we are ready to go.
We are gonna work on this one layer at a time, so hide all layers except for the rectangle and background layers. My main tube is a little taller than the template, so I went to Image..Canvas size and increased the height setting to 300 pixels. If you enlarge your canvas, you need to click on the background layer, grab your floodfill tool and fill in the newly created pixels with white.
Now click on the rectangle layer. Grab your magic wand with settings of no tolerance and no feather, and click on the rectangle. Now pick a lighter color that matches your tube and floodfill the rectangle. Go to Effects..Tramages..Tow the Line and apply settings of 80, 54, 48, 9.
Now go to Selections..Expand by 1 pixels. Add a new layer and floodfill it with black. Drag this black layer beneath your colored layer and then Go to selections...select None. We can now delete the layer called Rectangle.
Paste your main tube on top of your colored rectangle layer and add a small drop shadow of -2, 2, 43, 2.89, color black.
Unhide the Circle layer and highlight it in your layer palette. Grab your magic wand again with same settings and click on the circle. We need to add a new raster layer and floodfill it inside the selection with a darker color. Keep the circle selected and go to Effects...Penta..Color Dot..with settings of 179, 12, 255 for the last 3 settings. Keep your circle selected for the next few steps.
Let's add a small drop shadow of -2, 2, 43, 2.89, color black. Then paste your second tube and place it in the circle. When its where you want it to be, go to Selections..Invert and then hit Delete on your keyboard. Now we can go to Selections..Select None. Add the same drop shadow to your tube layer. I dropped the opacity on my tube layer to 50.
Now we will delete the layer called Circle as we don't need it anymore.
Unhide the thin rectangle layer, grab your magic wand and click inside the thin rectangle. Now grab your floodfill tool and fill it with the darker color. Go to Effects...Xenofex 2...Stain. Use the deafult settings, but change the Stain Color to White. Click Okay. Apply the same drop shadow as we did previously.
Unhide the heart layer. Grab your magic wand, click on the heart and floodfill the heart with the lighter color. Now apply the same Xenofex Stain as before. And apply the same drop shadow.
I used a brush and placed my word brush inside the rectangle.
Grab your text tool and type out your name. I am using a font called Aquarelle with my darker color as my foreground and the lighter color as my fill. I used the same drop shadow as before, but cranked up the opacity a bit.
This tutorial is ©BamaVamp and was written on 2/27/09.
If you have any questions please feel free to holler at me.
DO NOT copy nor translate this tutorial.
Contact me for usage information.


No comments:
Post a Comment